FPV drone
Understanding the quadcopter
What do you need to build DIY quadcopter? Parts, of course.
Jokes aside, you need:
- A flight controller - FC - the brain of the drone, responsible for gathering input from it’s sensors and the pilot, calculating which corrections need to be made in order to orient the machine accordingly, running a PID loop for smooth movement, and forwarding the output to the speed controller.
- An electronic speed controller - ESC - the motor cortex, tasked with actually physically controlling the speed of each individual motor according to the FC’s wishes.
- Quad (4) motors - the muscles, which turn the propellers attached.
- Propellers - the spinning surfaces which generate thrust and lift the drone.
- A radio receiver - RX - to gather signals from the pilots controller and forward them to the FC.
- A camera - to capture the point of view of the drone.
- A video transmitter - VTX - to transmit the drone’s video back to the pilot.
- A frame - to put it all into.
- A battery - to power it all, usually a Lithium Polymer (LiPo).
But how does the drone actually fly? If you have ever looked at a quadcopter while it’s propellers are spinning slowly, you might have noticed that opposite sides rotate in opposite directions - either clockwise or counter clockwise. Thats because if all of the motor were rotating in the same direction, the drone itself would start spinning the other way. This is why, for example, there is a smaller rotor on the back of a helicopter - to counter torque.
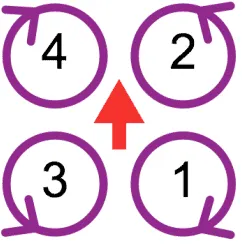
If the drones orientation is known, and the wanted orientation is also known, with some mathematics it’s possible to figure out the speed that each of the motors needs to spin in order to turn it basically any direction - and achieve some pretty impresive maneuvers.
For example, to rotate in the yaw axis, all the motors need to do is start rotating one diagonal set of motors slower than the other, and the combined torque on the drone means it has to start rotating.
In order to pitch up or down, the front or rear set of motors must rotate faster. To roll left or right, the left or right set of motors must rotate faster.

Once you get it, it’s pretty simple. Because quadcopters can control each axis mostly independently, it allows them much higher freedom of movement than, for example, a plane.
Designing and building
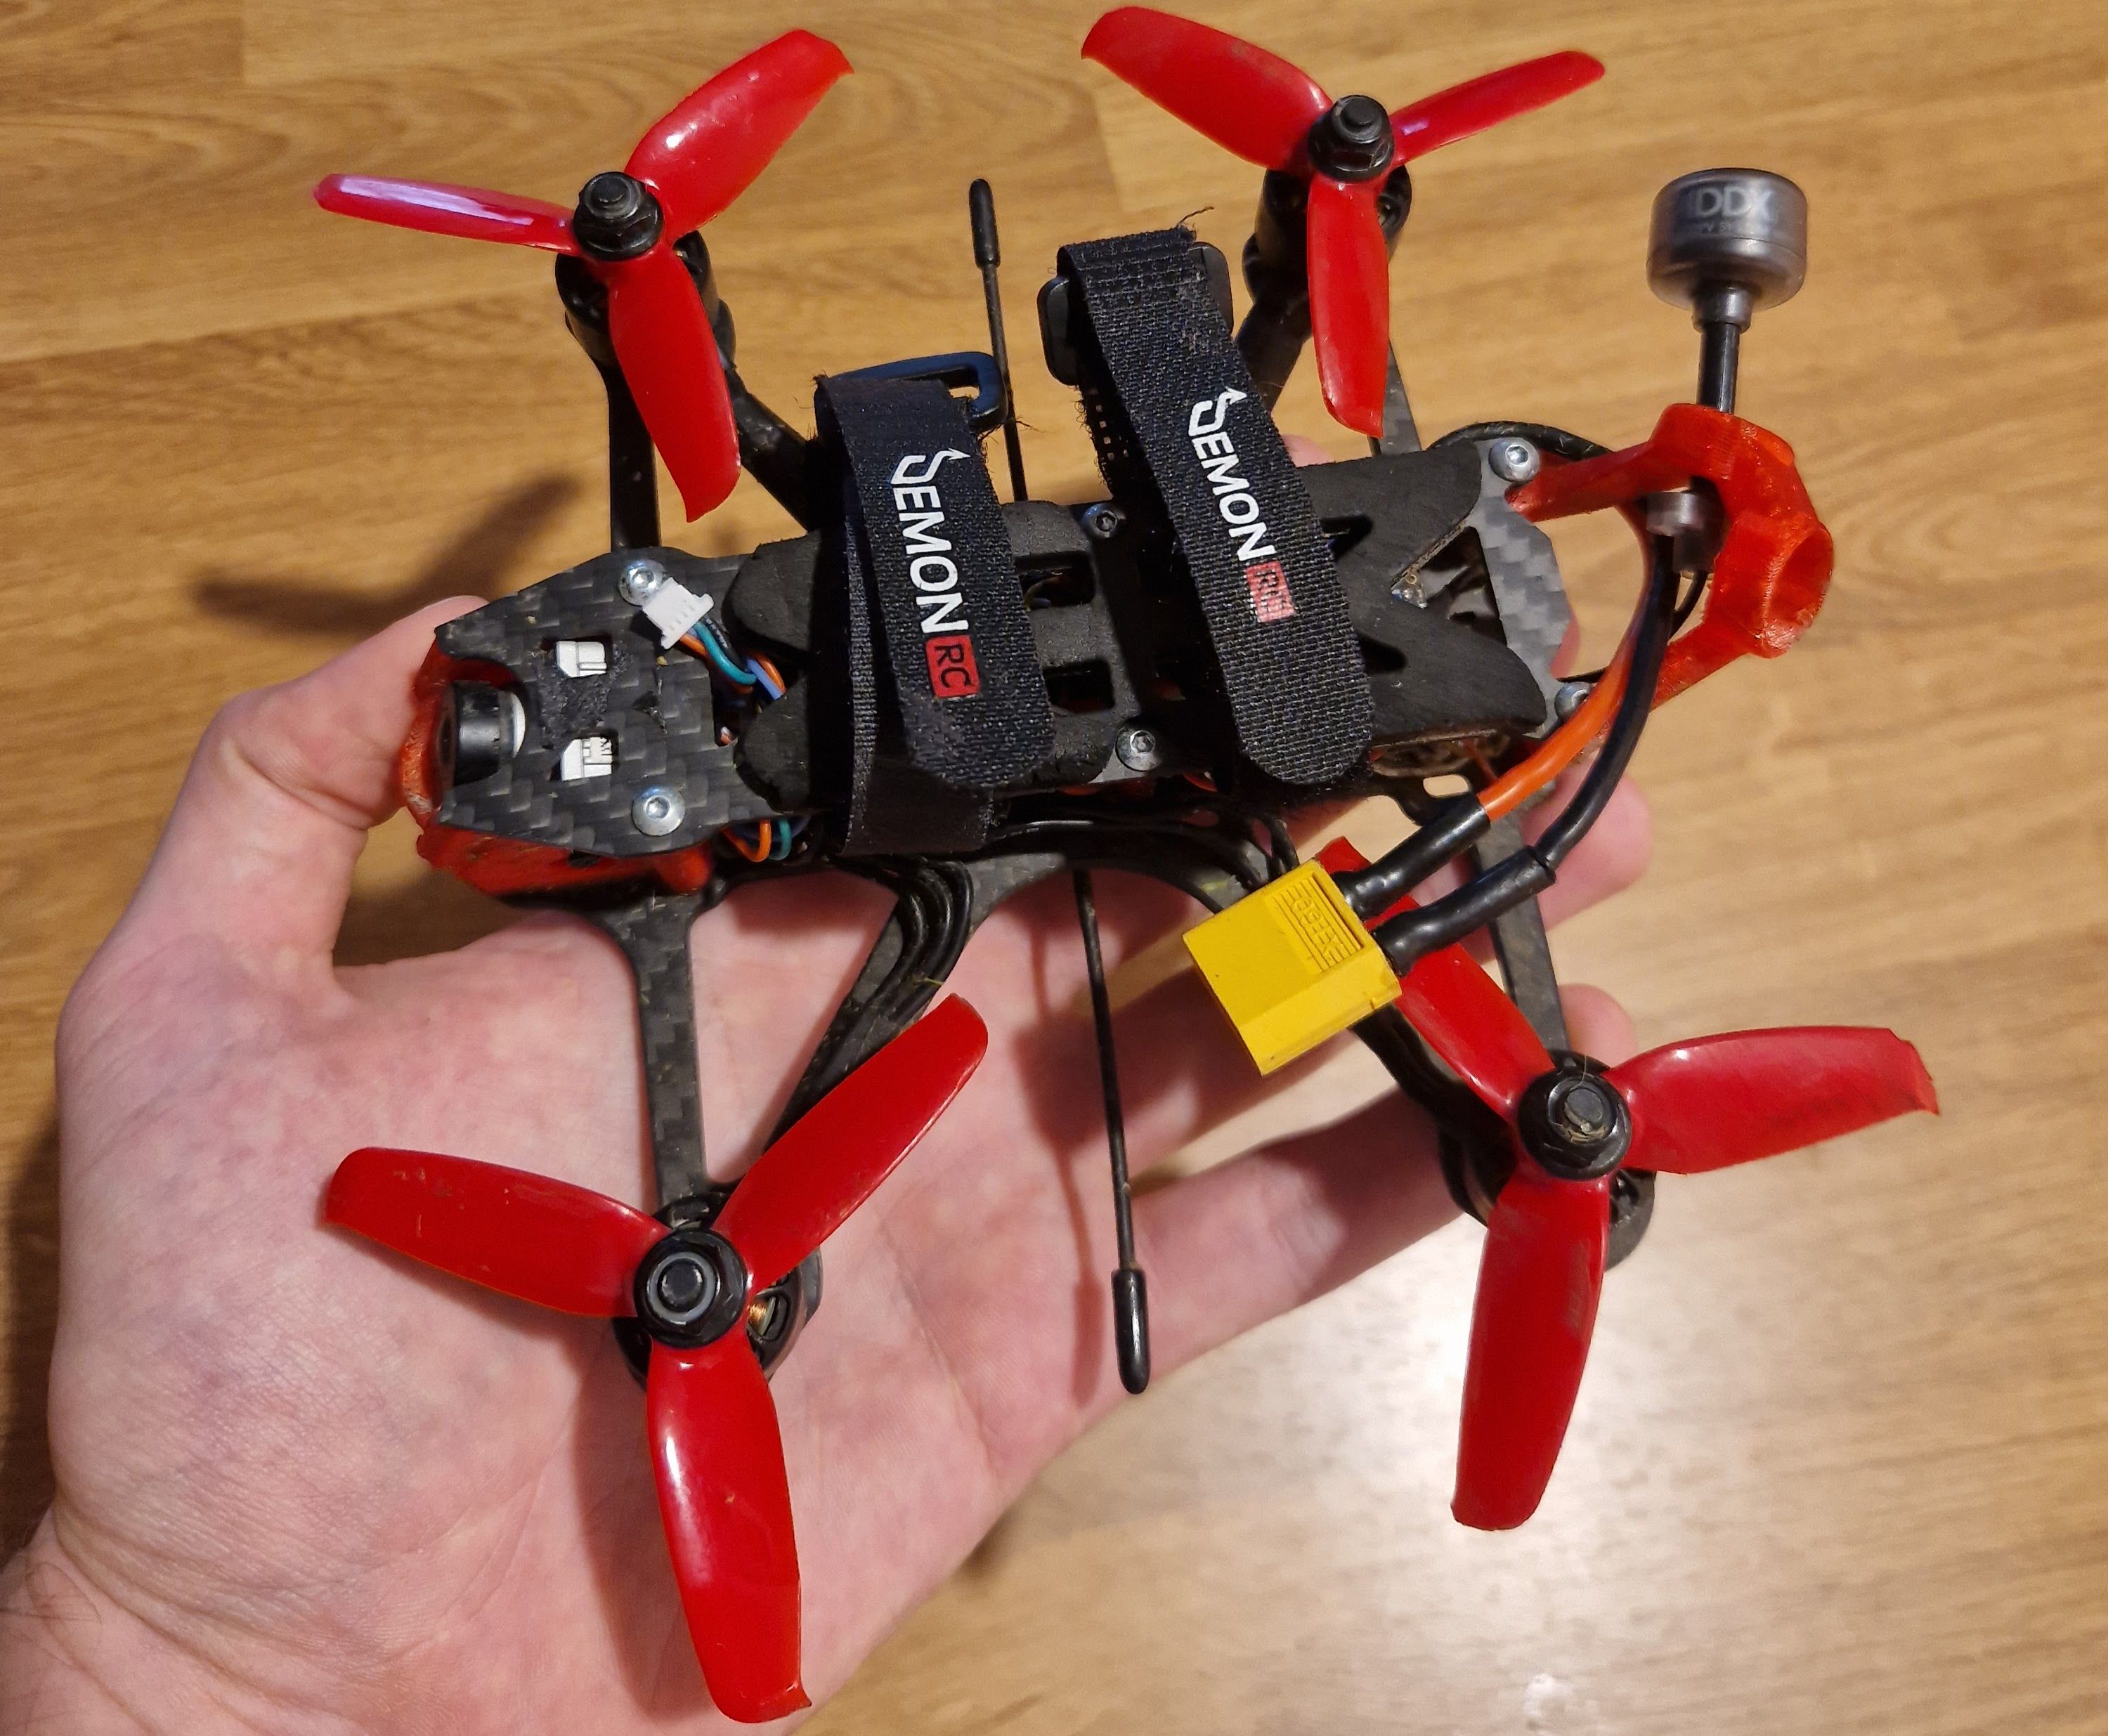
To start with, I needed to choose all of my parts. I chose to build a so called 3-inch quad, named after the size of the propellers. Partly due to the supposedly smaller cost, and partly due to the lightness and better maneuverability, as compared to a 5-inch.
I used:
- An iFLight SucceX-D Mini F7 TwinG Stack - a combo FC and ESC.
- 4 iFlight XING-E X1408 motors with a 3600 KV, designed for 4S LiPo batteries (+1 as backup).
- A TBS Crossfire radio receiver, touted for its extremely good reception (in the past years, similar open source solutions have appeared on the markets, such as ELRS).
- The Caddx Vista for my camera and VTX combo, designed to work with the DJI FPV digital system.
- A DemonRC DOJO X3 frame for freestyle quads (the brand has since ceased to exist).
- 4 DemonRC Fusion 850mAh LiPo batteries.
- To control the quad, I picked out the Jumper T16 Pro controller paired with the DJI FPV goggles V1 (it was just DJI FPV at the time, the latest one is v5).
Basically everything was ordered from Aliexpress, except the frame and batteries, which I bought in Europe.
When all packages finally arrived, it came time for assembly. I feared this part the most, because I did not want to break brand new parts straight away - they required lots of careful soldering. Luckily, I had also grabbed a “soldering training board”, with soldering pads of different sizes to practice on. After some training sessions came time to do the real deal - and a few late-nighters later, I succeeded. And by the way, I even used lead-free solder, which is supposedly harder to work with, out of spite.
Flashing and testing
The software which runs on the flight controller is called Betaflight, but it needed to get on there first - with the help of a PC and a spare USB cable. The ESCs also got flashed with the newest version of their firmware. All that was left to do was learn to pilot.
Liftoff is the name of an FPV drone simulator / game, which can be used to train your muscle memory to the control scheme for flying FPV. You can even plug in your real controller, which allows to transfer this knowledge to the real world. And that is exactly what I did.
Some few hours later, I had my first flight outside - and it went pretty well, if you don’t count landing suddenly a failure. I started flying around my neighbourhood, fields and other places. Next year, I even flew over water - some 700 meters of it. All in all, it was a great source of fun.